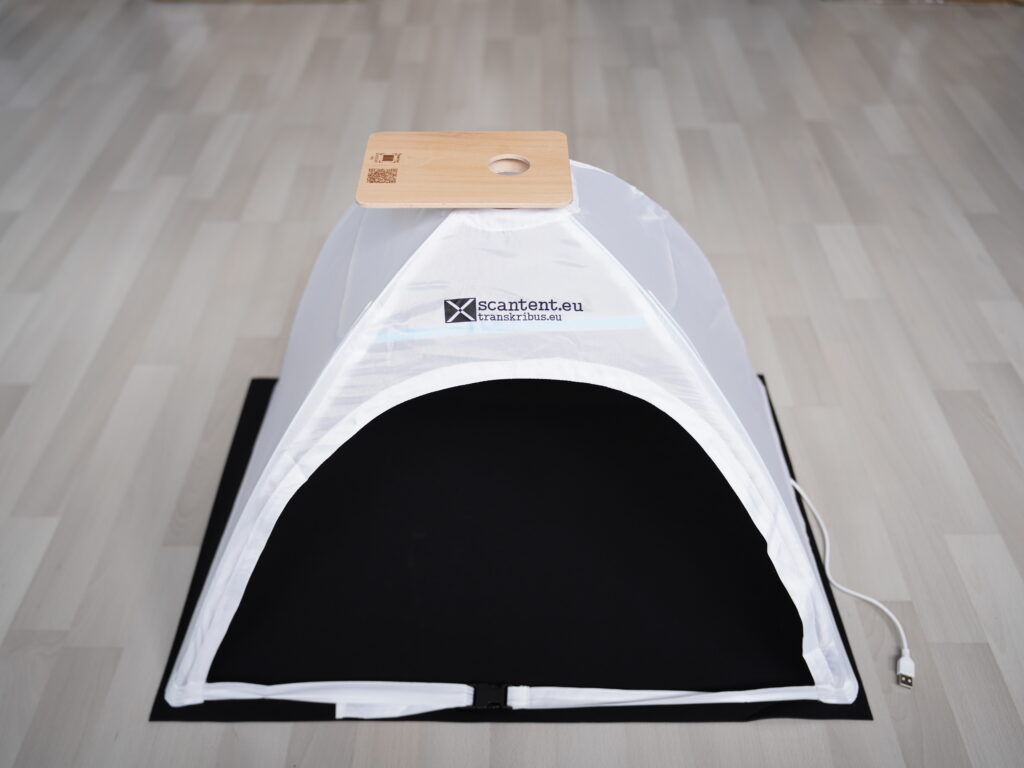
If you're interested in creating your own archival scanner, there are a few key components and considerations to keep in mind. Here's a basic overview of what you'll need and some steps to get started:
- Camera: A high-resolution digital camera is the core component of an archival scanner. Look for a camera with a high megapixel count and good image quality. You can use a DSLR or mirrorless camera or even a smartphone with a high-quality camera if it meets your requirements.
- Lighting: Proper lighting is crucial for capturing accurate and clear scans. You'll need consistent and diffuse lighting to eliminate shadows, reflections, and glare. You can use natural light, but a controlled light source such as LED panels or studio lights will provide more consistent results.
- Copy Stand or Mount: A copy stand or mount is used to hold the camera in a fixed position above the documents you want to scan. This ensures stability and precise alignment. You can purchase a copy stand or build your own using materials like wood or metal.
- Document Holder: A document holder keeps the archival materials flat and prevents them from moving during scanning. You can use various materials like glass, plexiglass, or a book cradle to support the documents.
- Software: You'll need software to control the camera, capture images, and process the scans. Many camera manufacturers provide software for tethered shooting, allowing you to control the camera remotely from your computer. Additionally, you can use image editing software like Adobe Photoshop or open-source alternatives like GIMP for post-processing.
Once you have gathered the necessary components, here's a general process to follow:
- Set up your copy stand or mount it in a well-lit area.
- Install the camera on the copy stand and position it directly above the document holder.
- Connect the camera to your computer using a USB cable or use wireless tethering if supported.
- Adjust the lighting to ensure even illumination across the documents.
- Configure the camera settings, such as resolution, exposure, and white balance, based on the type of documents you're scanning.
- Place the archival materials on the document holder and make sure they are flat and aligned.
- Use the software to control the camera and capture images. Take multiple shots of each document, ensuring you have sharp and well-exposed scans.
- Transfer the captured images to your computer for further processing.
- Use image editing software to enhance the scans if necessary. This may include cropping, adjusting brightness and contrast, and removing dust or blemishes.
- Save the final scans in an appropriate file format (such as TIFF or JPEG) and organize them in a logical folder structure for easy access and long-term preservation.
Creating an effective archival scanner involves attention to detail and careful handling of delicate materials. It's important to strike a balance between achieving high-quality scans and preserving the integrity of the original documents.
Tools For Scanning
Want More?
- 4 Steps To Digitize Your Paper Archives
- Personal Digital Archiving: The Basics of Scanning
- How to Digitize Your Most Important Documents
- Tips and Tricks for Scanning Your Archive Documents
- Guidelines: Technical Guidelines for Digitizing Cultural Heritage Materials
- Technical Guidelines for Digitizing Cultural Heritage Materials

